Nordic Hook Club: Free Beginner Crochet Pattern
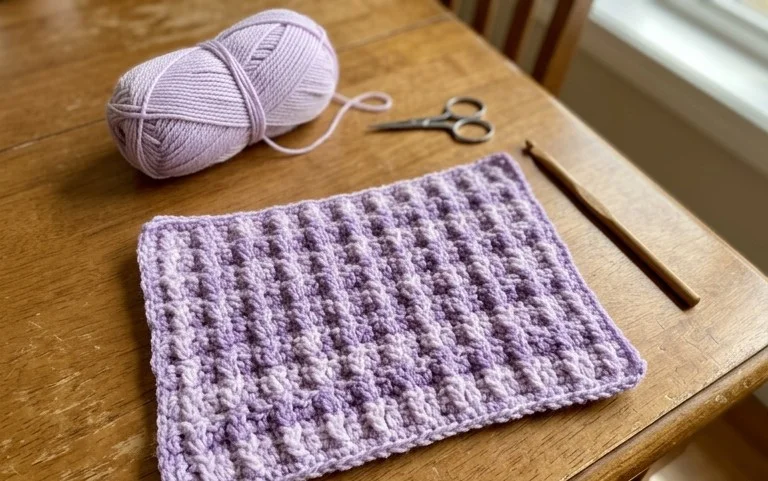
Soft cotton yarn creates a firm, tactile shape that sits comfortably in your palm, making this Nordic Hook Club project a favorite for those who enjoy minimal and clean design aesthetics. Beginners often appreciate how the steady rhythm of the single crochet stitch helps build confidence in gauge and tension control. You do not need to worry about complex assembly or changing colors mid-row, as the construction focuses on simple increases that define the final silhouette. Whether you are building a collection of handmade desk accessories or searching for a quick gift for a friend, this pattern provides a reliable way to practice shaping while ending up with a polished, professional piece you can display immediately.
Why Crocheters Love It
This beginner-friendly project works up in under two hours, making it an ideal choice for last-minute handmade gifts. You only need a small amount of yarn, so it serves as a practical way to use up those leftover balls sitting in your craft basket. The rhythmic nature of the single crochet stitches creates a dense, sturdy fabric that holds its shape well. Because the pattern relies on simple increases and decreases, it provides a low-stress environment for practicing your tension without the distraction of complex color changes or lace work.
I managed to finish this pattern in a single afternoon while listening to a podcast, and the final piece looks professional enough that my friends thought I bought it at a boutique. It is exactly the right level of challenge for someone still getting comfortable with shaping.
— Sarah, hobbyist crafter
Pattern Overview & Skill Level
- Skill Level: Beginner
- Approximate Time: 1.5 to 2 hours
- Construction: Amigurumi-style continuous rounds worked from the base up, finished with stuffing and a simple closing technique.
- Finished Dimensions: 4 inches tall by 3 inches wide.
Materials & Supplies Needed
- Yarn: Worsted weight (#4), 100% cotton yarn, approximately 40 yards. Cotton provides the best stitch definition for 3D shapes.
- Hook Size: 4.0 mm (US G-6) hook for a tight fabric that prevents stuffing from showing through.
- Notions: Tapestry needle with a blunt tip, stitch markers for tracking round starts, polyester fiberfill stuffing, and scissors.
- Yarn Substitutions: Acrylic worsted weight yarn is a suitable substitute. Note that acrylic has more stretch than cotton, so you may need to add slightly more stuffing to maintain the shape, and the finished item will feel softer and less rigid.
Stitch Guide & Abbreviations (US Terms)
- MR: Magic Ring. A method of starting rounds by crocheting into a loop that can be pulled tight.
- ch: Chain stitch.
- sc: Single crochet. Insert hook, yarn over, pull up a loop, yarn over, pull through two loops on hook.
- inc: Increase. Work 2 sc in the same stitch.
- dec: Decrease (sc2tog). Insert hook into front loop of next stitch, then front loop of following stitch, yarn over, pull through two loops, yarn over, pull through remaining two loops.
- st/sts: Stitch/stitches.
- sl st: Slip stitch. Insert hook, yarn over, pull through stitch and loop on hook.
- BLO: Back loop only. Work stitches into the back loop of the designated stitch, leaving the front loop visible for a ridge effect or cleaner seam.
Step-by-Step Pattern Instructions
Main Body
- Rnd 1: Start 6 sc in a magic ring. (6 sts)
- Rnd 2: Work 2 sc in each st around. (12 sts)
- Rnd 3: [1 sc in next st, inc in next st] 6 times. (18 sts)
- Rnd 4: [1 sc in next 2 sts, inc in next st] 6 times. (24 sts)
- Rnd 5: [1 sc in next 3 sts, inc in next st] 6 times. (30 sts)
- Rnd 6 – 12: sc in each st around. (30 sts)
- Rnd 13: [1 sc in next 3 sts, dec in next st] 6 times. (24 sts)
- Rnd 14: [1 sc in next 2 sts, dec in next st] 6 times. (18 sts)
- Rnd 15: [1 sc in next st, dec in next st] 6 times. (12 sts). Stuff the body firmly with fiberfill at this stage.
- Rnd 16: [dec] 6 times. (6 sts)
Finishing
Cut the yarn, leaving an 8-inch tail. Thread the tail through your tapestry needle. Weave the yarn through the front loops of the remaining 6 stitches and pull firmly to close the opening. Secure the knot by pulling the yarn through the center of the closure and trimming the excess inside the piece.
Care & Washing Instructions
- Hand wash your finished item in cool water using a mild wool-safe detergent to avoid shrinking the fiber.
- Gently squeeze out excess moisture between two towels; do not wring or twist the piece, as this can distort the stuffing.
- Reshape the item while damp and lay it flat on a clean surface away from direct sunlight to dry completely.
Pro Tips & Common Mistakes to Avoid
Maintain consistent tension by wrapping the yarn around your index finger to ensure every stitch has the same tightness. If your tension is loose, the fiberfill will poke through the gaps between stitches, which is why a smaller-than-recommended hook is often used for amigurumi. Always place a stitch marker in the first stitch of every round; since this pattern is worked in continuous spirals, losing your place can quickly lead to miscounted stitches. If you want a larger finished item, you can use a heavier weight yarn and a corresponding larger hook, though remember this will increase your total yardage requirement significantly.
Frequently Asked Questions
Can I use a different yarn weight for this pattern?
Yes, you can use any yarn weight, but the hook size must change accordingly. A thinner yarn will result in a smaller piece, while a thicker yarn will make the piece larger. Always ensure your stitches are tight enough that the stuffing does not show through.
Why are my rounds not lining up correctly?
This pattern is worked in a continuous spiral, which means there is no formal join or turn at the end of each round. If you find your rounds are shifting, ensure you are counting your stitches at the end of every round to verify you have the correct total.
Is this pattern suitable for complete beginners?
Yes, this is an excellent starter project. It focuses on the fundamental skills of making a magic ring, increasing, and decreasing, all of which are the building blocks for more advanced three-dimensional crochet work.
Am I allowed to sell the items I make from this pattern?
You are welcome to sell finished items created from this pattern, provided you credit the design. Please do not redistribute the pattern text or images themselves on your own website or social media channels.
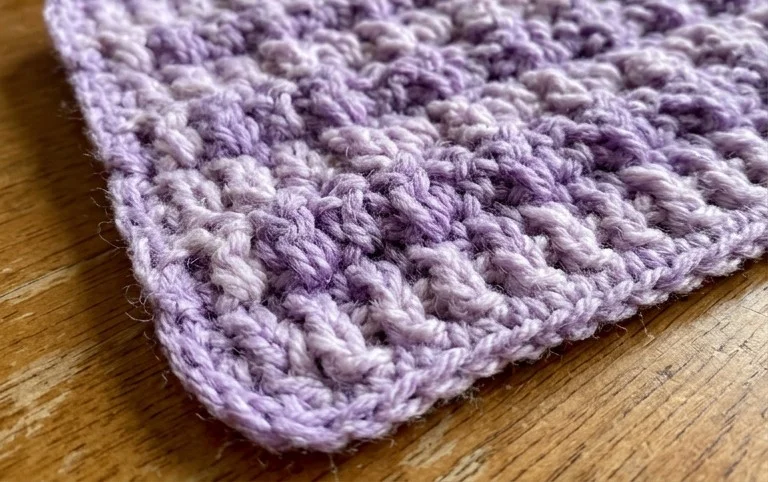
Your finished piece brings a cozy, handmade touch to any shelf or workspace. If you want to experiment, try using a slightly thicker wool yarn for a chunkier texture or opt for a variegated cotton to add visual interest without changing your stitch count. Sharing a photo of your work on social media helps other makers find inspiration for their own yarn stash projects. You can browse the rest of the blog for more free patterns to keep your hands busy with new techniques and fresh designs throughout the year.