Easy Beginner Crochet Coaster: Free Pattern & Materials
A fresh, crisp cotton coaster adds a soft, functional texture to your coffee table while protecting wood surfaces from unsightly condensation rings. These small circles feel substantial in your hand and provide a quick win for anyone brand new to crochet. You will learn the basics of working in a spiral, which keeps your rounds smooth without visible seams or awkward joining gaps. This simple project is satisfying because it builds confidence in your tension and stitch placement within a very short time. Whether you need a handmade gift or a quick afternoon hobby, these coasters work beautifully.
Why You’ll Love This Pattern
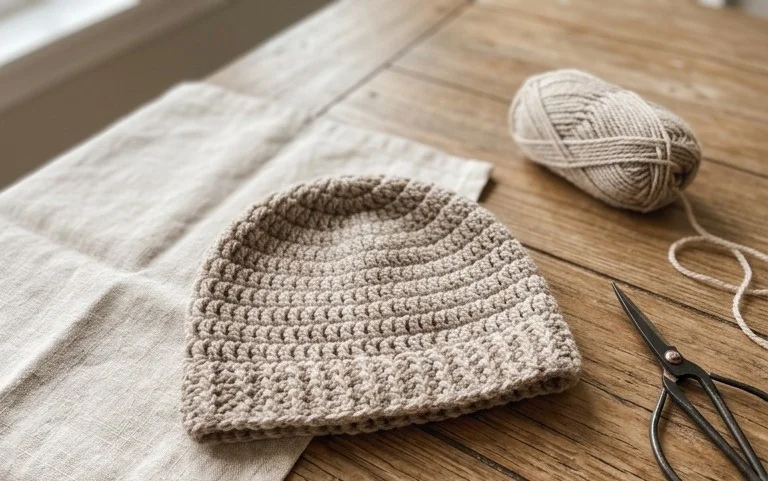
This beginner-friendly crochet coaster pattern uses a simple spiral construction, making it an ideal first project for anyone learning to work in the round. You can complete a single coaster in under thirty minutes, which makes this an efficient choice for last-minute handmade gifts or refreshing your home decor. The pattern relies on basic single crochet stitches, providing a rhythmic and relaxing experience for seasoned crafters who need a low-stress project. Because each coaster requires only a small amount of yarn, it serves as the perfect way to use up leftover cotton scraps from larger projects.
I managed to finish a full set of four coasters in one evening while watching a movie. The instructions are very easy to follow even for a total beginner.
— Sarah, hobbyist crafter
Pattern Overview & Skill Level
- Skill Level: Beginner
- Approximate Time: 20-30 minutes per coaster
- Construction: Working in continuous rounds starting from a magic ring
- Finished Dimensions: Approximately 4 inches in diameter
Materials & Supplies Needed
- Yarn: Worsted #4 weight, 100% cotton yarn, approximately 15-20 yards per coaster. Cotton is preferred for its heat resistance and ability to absorb moisture.
- Hook Size: 5.0 mm / H-8
- Notions: Tapestry needle for weaving in ends and a stitch marker to keep track of the start of your rounds.
- Safe yarn substitutions: Acrylic yarn may be used for decorative coasters, but it will not absorb moisture as well as cotton and should not be used for hot mugs. Wool yarn is a natural alternative but may felt over time if washed frequently.
Stitch Guide & Abbreviations (US Terms)
- MR: Magic ring
- ch: Chain
- sc: Single crochet
- inc: Increase (work 2 sc into the same stitch)
- sl st: Slip stitch
- st/sts: Stitch/stitches
Step-by-Step Pattern Instructions
Coaster Body
- Rnd 1: Start with a MR, work 6 sc into the ring. Place a stitch marker in the first st to track the start of the round. (6 sts)
- Rnd 2: Work 2 sc in each st around. (12 sts)
- Rnd 3: [1 sc in next st, inc in next st] repeat 6 times around. (18 sts)
- Rnd 4: [1 sc in next 2 sts, inc in next st] repeat 6 times around. (24 sts)
- Rnd 5: [1 sc in next 3 sts, inc in next st] repeat 6 times around. (30 sts)
- Rnd 6: [1 sc in next 4 sts, inc in next st] repeat 6 times around. (36 sts)
- Rnd 7: [1 sc in next 5 sts, inc in next st] repeat 6 times around. (42 sts)
Finishing
To finish, remove your stitch marker and perform a sl st into the next stitch to create a smooth edge. Fasten off your yarn, leaving a 6-inch tail for weaving. Use a tapestry needle to weave the tail through the back of the final stitches to secure it firmly. Pull the starting tail of the magic ring tight to close the center hole, then weave that end in as well.
Care & Washing Instructions
- Hand wash your coasters in cool water with a mild detergent to preserve the shape and fiber integrity.
- Lay the coasters flat on a clean towel to air dry, pressing them into a perfect circle while they are damp.
- Avoid using a tumble dryer, as heat can cause cotton to shrink or lose its structural stiffness.
Pro Tips & Common Mistakes to Avoid
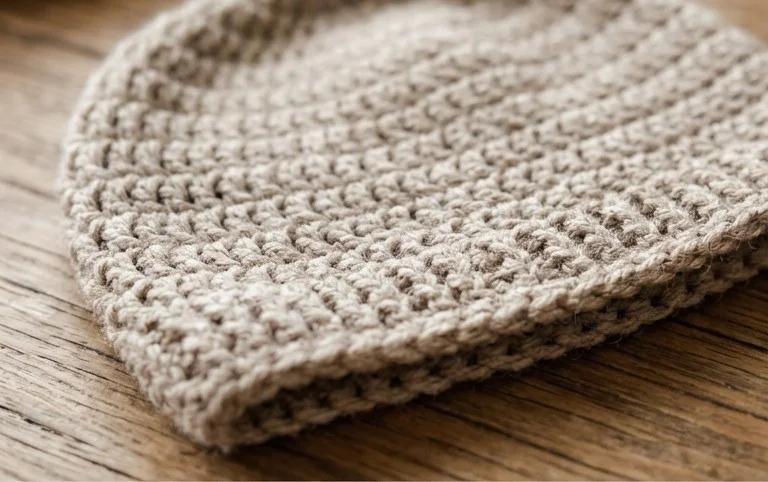
Maintaining consistent tension is the most important factor in keeping your coaster flat; if your edges start to curl, you are likely pulling your yarn too tightly. Always use a stitch marker at the beginning of each round to ensure you do not accidentally skip a stitch or add an extra one, which would cause the coaster to ripple. When weaving in your ends, run the needle through the center of the yarn strands rather than just the loops to ensure the tail stays hidden during use. If you wish to make a larger coaster, continue the increase pattern by adding one additional single crochet between each increase in every subsequent round, though note this will require more yarn.
Frequently Asked Questions
Can I use a different yarn weight for this pattern?
You can use a different yarn weight, but it will change the size of your coaster. A thinner yarn with a smaller hook will result in a smaller coaster, while a thicker yarn will make a larger one. You may need to adjust the number of rounds to reach your desired width.
Is this pattern suitable for complete beginners?
Yes, this is an excellent pattern for beginners because it focuses on the fundamental skill of increasing in the round using only one basic stitch type.
Can I sell the finished coasters I make from this pattern?
You are welcome to sell finished items made from this pattern provided you give design credit to the original creator. Please use your own photographs rather than the ones provided here.
What should I do if my coaster is not lying flat?
If your coaster is cupping, your tension is likely too tight; try going up a hook size. If it is ruffling or wavy, your tension might be too loose, or you may have accidentally added extra stitches.
Seeing your handmade stack of coasters sitting on a side table is quite satisfying after such a short amount of work. Try using a variegated cotton yarn if you want to add a bit of playful color without switching skeins mid-round. We would love to see how your colors turned out, so feel free to tag us in your project photos online. You can find more beginner-friendly projects and free patterns scattered throughout the rest of our blog for your next quiet afternoon session.