Easy Crochet Butterfly Amigurumi: Free Beginner Pattern
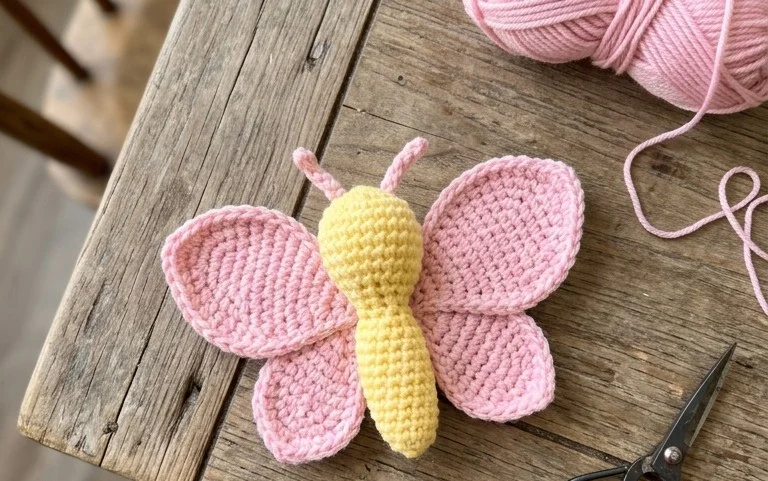
A delicate handmade butterfly brings a touch of whimsy to any windowsill or bookshelf. These small creatures feature soft rounded wings and tiny antennas that hold their shape well thanks to a firm tension. Making them offers a great way to practice increasing stitches and shaping curves without working on an oversized blanket. You will find that these projects come together in less than two hours, which makes them a satisfying weekend activity. Learning the basics of color changing while creating these wings helps build confidence for larger dolls, while the final result remains a sweet gift for children or friends.
Why You’ll Love This Pattern
This crochet bumblebee works up quickly using the classic amigurumi technique of working in a continuous spiral. Its compact size makes it a reliable project for using up leftover yarn scraps from larger blanket or garment projects. The pattern relies on simple single crochet stitches and basic increases or decreases, which helps you practice shaping three-dimensional forms without complicated stitch patterns. Because it uses safety eyes and minimal sewing for the wings, you can complete the entire project in a single afternoon.
I finished this little bee in under two hours and the instructions for the wing placement were very easy to follow compared to other patterns I have tried.
— Sarah, amigurumi hobbyist
Pattern Overview & Skill Level
- Skill Level: Beginner
- Approximate Time: 1.5 to 2 hours
- Construction: Worked in continuous rounds from the head to the tail; wings are crocheted separately and sewn on.
- Finished Dimensions: Approximately 3 inches tall by 2 inches wide.
Materials & Supplies Needed
- Yarn: Worsted weight (#4), 100% cotton or acrylic. Colors: Yellow (approx. 20 yards), Black (approx. 15 yards), and White (approx. 5 yards).
- Hook Size: 3.5 mm (E-4) for a tight, dense fabric that prevents stuffing from showing through.
- Notions: Fiberfill stuffing, 6mm plastic safety eyes, tapestry needle, and stitch markers.
- Yarn Substitutions: You can use DK weight yarn with a 3.0 mm hook for a smaller bee, or bulky weight yarn with a 5.0 mm hook for a larger, plush-style bee. Note that changing yarn weight will significantly alter the final size and requires adjusting stuffing amounts accordingly.
Stitch Guide & Abbreviations (US Terms)
- MR: Magic Ring
- ch: Chain
- sc: Single crochet
- inc: Increase (work 2 sc in the same stitch)
- dec: Decrease (sc2tog, work 2 sc together through the front loops)
- sl st: Slip stitch
- st(s): Stitch(es)
Step-by-Step Pattern Instructions
Bee Body
- Rnd 1: With yellow yarn, start 6 sc in a MR (6 sts).
- Rnd 2: Inc in each st around (12 sts).
- Rnd 3: (1 sc, inc) repeat 6 times (18 sts).
- Rnd 4: (2 sc, inc) repeat 6 times (24 sts).
- Rnds 5-7: Sc in each st around (24 sts).
- Rnd 8: Switch to black yarn. Sc in each st around (24 sts).
- Rnd 9: Switch to yellow yarn. Sc in each st around (24 sts).
- Rnd 10: Switch to black yarn. Sc in each st around (24 sts). Insert safety eyes between rows 5 and 6, about 4 stitches apart.
- Rnd 11: With yellow yarn, (2 sc, dec) repeat 6 times (18 sts). Begin stuffing the body firmly.
- Rnd 12: (1 sc, dec) repeat 6 times (12 sts).
- Rnd 13: Dec 6 times (6 sts). Fasten off, leaving a tail to weave through the front loops of the final 6 stitches to close the hole.
Wings (Make 2)
- Rnd 1: With white yarn, 6 sc in a MR (6 sts).
- Rnd 2: Inc in each st around (12 sts).
- Rnd 3: Sc in each st around (12 sts).
- Rnd 4: (2 sc, dec) repeat 3 times (9 sts). Sl st to join and fasten off, leaving a long tail for sewing.
Assembly
Pin the wings to the back of the bee, centered over the black stripes. Using the tapestry needle and the remaining yarn tail, sew the wings securely to the body. Weave in all loose ends inside the body. If desired, use a small piece of black yarn to embroider a tiny mouth between the eyes.
Care & Washing Instructions
- Hand wash gently in cool water with a mild detergent to preserve the shape of the fiberfill.
- Lay the bee flat on a clean towel and press out excess water without wringing the piece.
- Allow to air dry completely and reshape by gently rolling it between your palms if the stuffing shifted during washing.
Pro Tips & Common Mistakes to Avoid
- Maintain consistent tension throughout the project; if your tension is too loose, use a smaller hook size to keep the stuffing from peeking through the gaps.
- Always place a stitch marker in the first stitch of every round to keep track of your position, as spiraling rounds lack a natural visual “end” point.
- When weaving in ends on an amigurumi piece, pass the needle through the center of the body multiple times to hide the tail rather than knotting it near the surface.
- To increase the size of the bee, work more increase rounds (e.g., 3 sc, inc) at the start, but remember that this will require significantly more stuffing and yarn.
Frequently Asked Questions
Can I use cotton yarn instead of acrylic?
Yes, cotton yarn is excellent for amigurumi because it has less stretch and creates a very firm, defined stitch structure, making the bee hold its shape well over time.
How do I keep the stripes even when switching colors?
Carry the unused yarn color up the inside of the work to avoid cutting the yarn every row. Be careful not to pull the carried yarn too tightly, or the body will become misshapen.
Is this pattern suitable for complete beginners?
This pattern is ideal for beginners who understand basic crochet abbreviations. The most challenging part is the magic ring, which can be practiced a few times until it feels comfortable.
Am I allowed to sell the bees I make from this pattern?
You are welcome to sell finished items made from this pattern, but please credit the original design and use your own photographs for your listings.
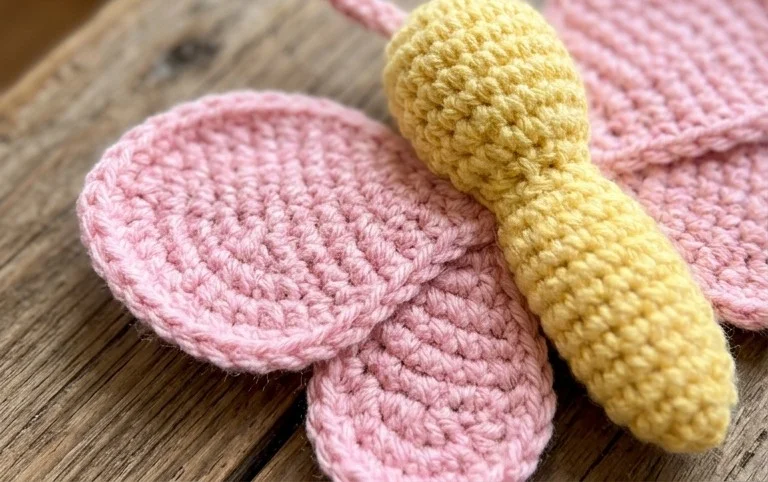
Your finished butterfly adds a cheerful pop of color to a nursery shelf or a desk. Experiment with variegated yarn to mimic the natural patterns found on real wings, or switch to a fuzzy velvet yarn for an extra soft texture that feels great to hold. Sharing photos of your finished work helps others feel inspired to start their own projects. Please browse the rest of the blog for more free patterns to build your collection of small plushies and handmade decor pieces for your home.