How to Crochet the Waistcoat Stitch: Easy Free Pattern
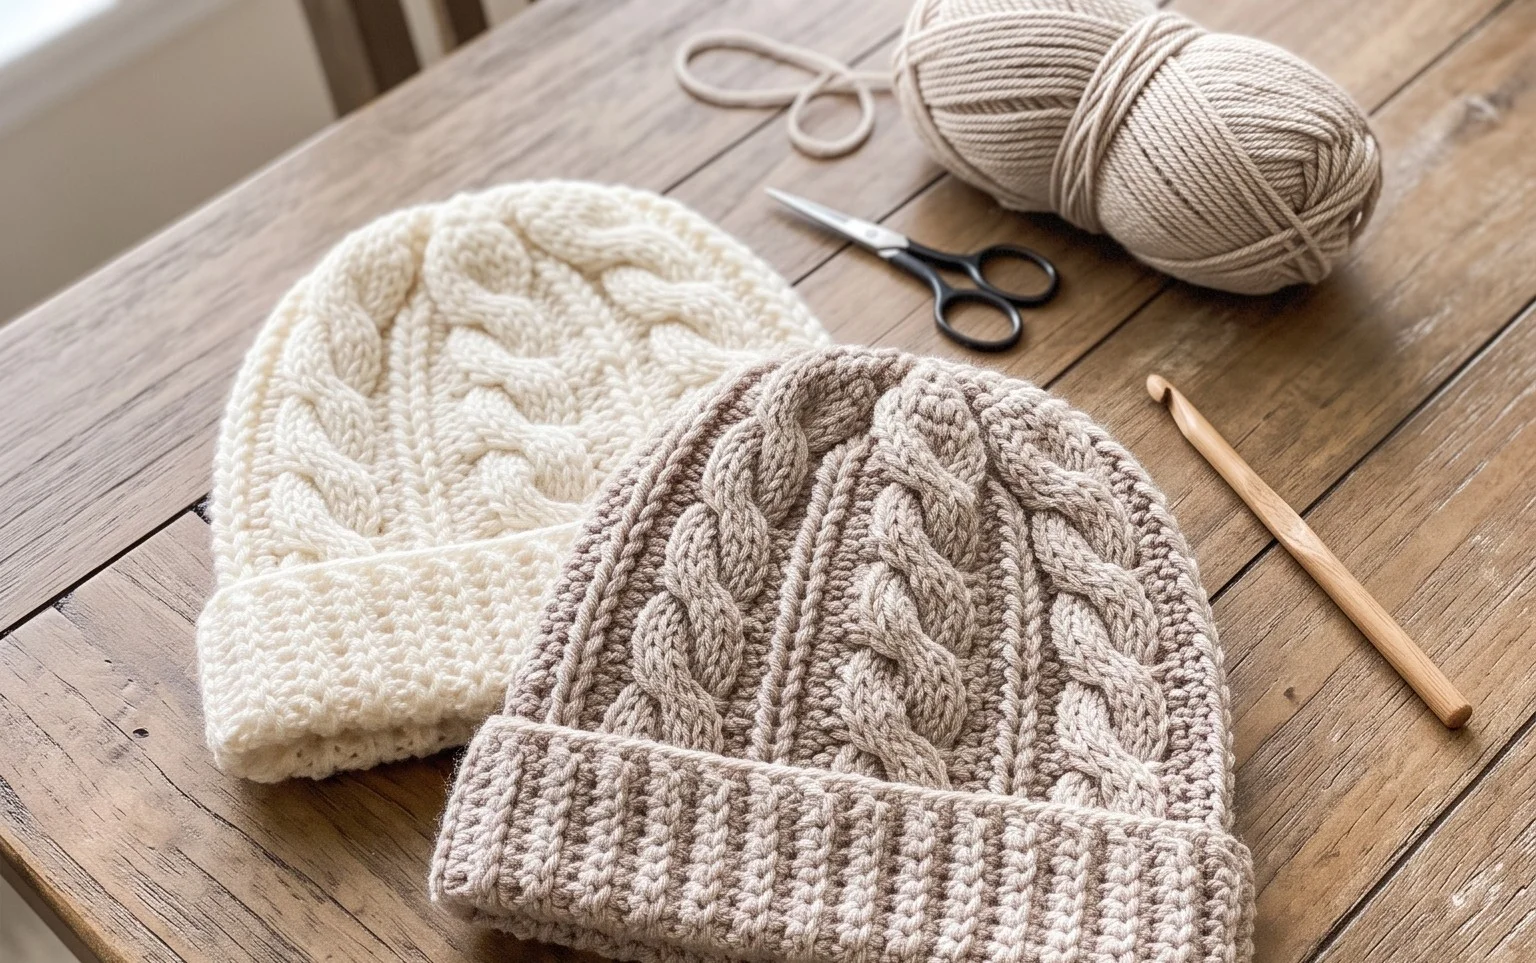
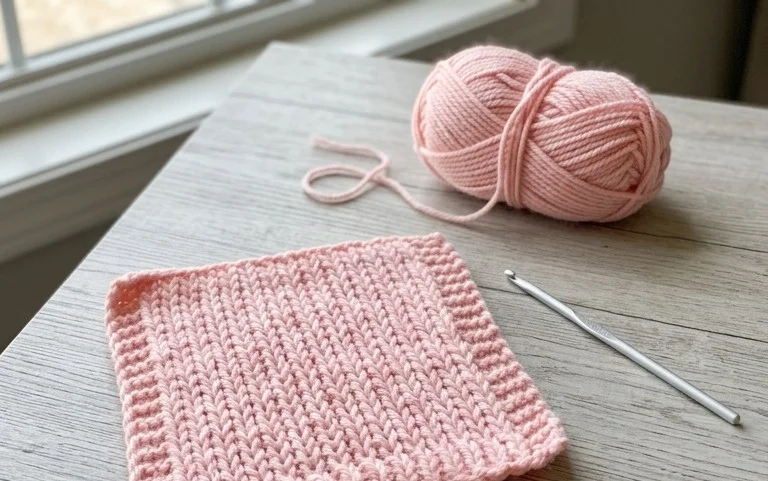
The waistcoat stitch mimics the dense and tidy appearance of traditional knit fabric, yet it comes together entirely with a single crochet hook. This technique provides a stiff, professional structure that stands upright on its own, which feels sturdy and pleasant to hold. Beginners appreciate how the distinct V-shaped loops guide exactly where to insert the hook, preventing the common frustration of missed stitches or uneven edges. Making this pouch offers a satisfying rhythm that turns simple cotton yarn into a durable container for your daily essentials. You will master this specialized stitch by working into the center of each stitch from the previous row instead of the top loops.
Why You’ll Love This Pattern
This simple crochet drawstring pouch uses a sturdy construction method that keeps small items secure while maintaining a soft, flexible shape. Because it relies on basic single crochet stitches worked in continuous rounds, it is an ideal project for those who want to practice their tension without managing complex stitch patterns. The design works up in under two hours, making it an excellent choice for last-minute gifts or stash-busting oddments of yarn. You can easily adjust the size by increasing the starting magic ring diameter, allowing you to create anything from a small jewelry bag to a larger utility pouch.
I finished this pouch in one evening using leftover cotton yarn. The instructions were very clear, and the drawstring mechanism works perfectly even with a slightly thicker cord.
— Sarah, beginner crocheter
Pattern Overview & Skill Level
- Skill Level: Beginner
- Approximate Time: 1.5 to 2 hours
- Construction: Continuous rounds with a bottom-up approach and a simple chain-space eyelet row for the drawstring
- Finished Dimensions: Approximately 5 inches wide by 6 inches tall when flat
Materials & Supplies Needed
- Yarn: Worsted weight (#4), 100% cotton, approximately 80 yards. Cotton is preferred for its lack of stretch and defined stitch clarity.
- Hook Size: 4.0 mm / G-6. This size creates a dense fabric that prevents small items from slipping through.
- Notions: Tapestry needle for weaving in ends, a locking stitch marker for tracking the start of rounds, and scissors.
- Yarn Substitutions: You may use acrylic yarn, but the finished pouch will be stretchier and less structured. Avoid loose, fuzzy wool blends, as they can snag on the drawstring.
Stitch Guide & Abbreviations (US Terms)
- MR = Magic Ring
- ch = Chain
- sc = Single crochet
- inc = 2 sc in the same stitch
- sl st = Slip stitch
- st(s) = Stitch(es)
- yo = Yarn over
- dc = Double crochet
- sk = Skip
Step-by-Step Pattern Instructions
Pouch Base and Body
- Rnd 1: Work 6 sc into a MR. (6 sts)
- Rnd 2: Inc in each st around. (12 sts)
- Rnd 3: [Inc, 1 sc] 6 times. (18 sts)
- Rnd 4: [Inc, 2 sc] 6 times. (24 sts)
- Rnd 5: [Inc, 3 sc] 6 times. (30 sts)
- Rnd 6: [Inc, 4 sc] 6 times. (36 sts)
- Rnd 7: [Inc, 5 sc] 6 times. (42 sts)
- Rnd 8: Sc in each st around in the back loops only. (42 sts)
- Rnds 9–20: Sc in each st around. (42 sts)
Eyelet Row and Finishing
- Rnd 21: Ch 3 (counts as 1 dc), sk 1 st, [1 dc, ch 1, sk 1 st] around, join with sl st to top of ch 3. (21 dc, 21 ch-1 spaces)
- Rnd 22: Ch 1, sc in each dc and each ch-1 space around, join with sl st to first sc. (42 sts)
- Assembly: Fasten off and weave in all ends securely. Create a braided cord or twisted chain measuring 14 inches long. Weave the cord in and out through the eyelets created in Rnd 21. Pull the ends to close the pouch and tie into a bow.
Care & Washing Instructions
- Hand wash in cool water with a mild detergent to preserve the shape and color of the cotton.
- Lay the pouch flat on a clean towel to air dry, reshaping it while damp to ensure the base remains circular.
- Avoid using a tumble dryer, as high heat can shrink cotton fibers and cause the stitches to warp permanently.
Pro Tips & Common Mistakes to Avoid
Maintain consistent tension by holding your yarn with a steady grip throughout the rounds. If you notice the bottom of your pouch curling, you may be crocheting too tightly and should move up to a larger hook size. Always place your stitch marker in the first stitch of every round; since this pattern uses continuous rounds, it is very easy to lose your place without a visual indicator. When weaving in your ends, carry them through the back of several stitches on the inside of the pouch to ensure they stay hidden and secure even with repeated use.
Frequently Asked Questions
Can I make this pouch larger?
Yes, you can increase the size by continuing the increase rounds of the base. For every additional round you add to the base, add 6 stitches to your total count and ensure you maintain those same 6-stitch increments in the body of the pouch.
Is this project suitable for a total beginner?
Absolutely. This pattern utilizes only basic stitches and simple increases. As long as you are comfortable working in a magic ring and counting your stitches, you will find this project approachable.
What is the best yarn for this pattern?
A medium-weight cotton yarn is best because it is durable and provides enough structure for the pouch to hold its shape. Synthetic yarns like acrylic can be used, but the final bag will be significantly softer and more prone to stretching.
Can I sell the finished bags?
You are welcome to sell items made from this pattern as long as you credit the designer. Please do not redistribute the pattern text itself or claim it as your own creation.
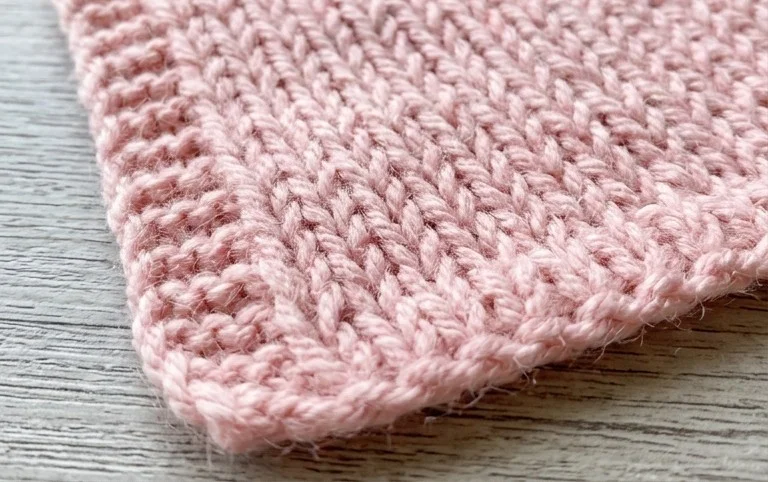
Your finished pouch possesses a clean, professional aesthetic that holds its shape through daily wear and tear. You can experiment with bold color-blocking by switching yarn colors at the start of each round to highlight the knit texture even further. Please share a photo of your finished work online so others can see how your project turned out. Feel free to browse our archives for more free patterns that help build your skills one stitch at a time. We enjoy seeing what you create with these simple methods.